Advice to improve your movement, fitness, and overall health from the #1 in orthopedics in the U.S.
Yoga Cool Down Stretches for Runners
Why should you cool down after a run? HSS physical therapist Cara Ann Senicola shares some basics, plus a quick yoga-based cool-down routine that targets the body, breath and mind.
Advice to improve your movement, fitness, and overall health from the #1 in orthopedics in the U.S.
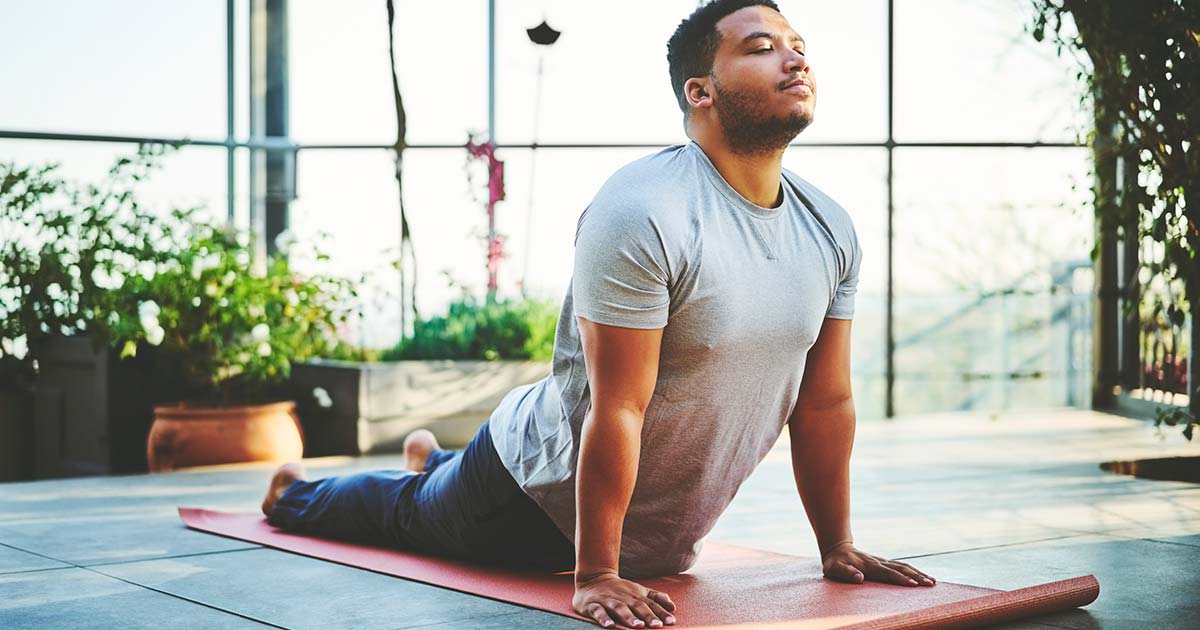
While many runners may be inclined to skip the stretching portion of their program, it’s really the smartest choice for helping your body to begin its recovery. “Running can activate your body’s sympathetic nervous system—also known as the fight-or-flight response,” says HSS physical therapist Cara Ann Senicola, PT, DPT, OCS, USATF-L1, CYT, who has run marathons, 5Ks and everything in between. “Doing yoga stretches while using slow inhales and exhales is one way to help the body shift back to the parasympathetic nervous system, which is the healthy resting state of our bodies, also known as the ‘rest and digest’ state.”
As an added bonus, stretching while lying on the ground allows your joints to move without the load of gravity stressing them. “It’s like giving your joints a hug,” she says. For times when you can’t (or don’t care to) lie on the floor or ground after a run, poses like downward-facing dog and wide-leg forward fold can help stretch many of the muscles used in running.
Before giving the following yoga cooldown sequence a test-run, a few pointers to keep in mind:
- Try to stretch right after you stop running or walking, before your body begins to cool down. This way, your muscles will be at their most supple.
- Don’t bounce! The stretches below should be done with a sustained hold. “We use prolonged positions as a low-load, long-duration stretch, which allows tissue to release over time,” says Senicola. This can prevent micro-tearing, which is a risk if you’re too aggressive with stretches.
- Deepen your breathing. On each inhale, allow the spine to lengthen or allow the stretch to release a bit, then on the exhale, allow your body to sink even deeper into the stretch. Over the course of three to five breaths, you should be able to sink further into the position.
- Stop if it hurts. “You should never feel a sharp pain when stretching,” says Senicola. Instead, you should feel a “moderate sensation” in the muscle that’s being stretched. If you do feel actual pain, back off and/or eliminate that stretch from your routine.
Note: These movements are intended to be done in one sequence.
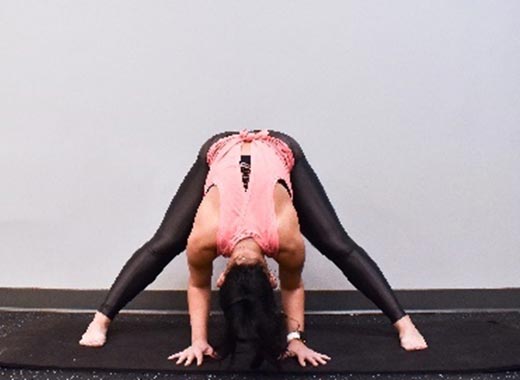
Wide-leg forward fold
1. Stand and place your feet more than hip-width apart. Keep your toes facing forward and your knees straight but not locked.
2. Place your hands on your hips and hinge forward at the hip joints. Reach your hands toward the ground while maintaining a flat back. If you can’t touch the ground, try putting a yoga block under each hand. If you have enough flexibility, allow your elbows to bend as you sink deeper into the stretch.
3. Hold for three to five breaths, then raise to the starting position slowly, vertebra by vertebra, to avoid becoming dizzy.
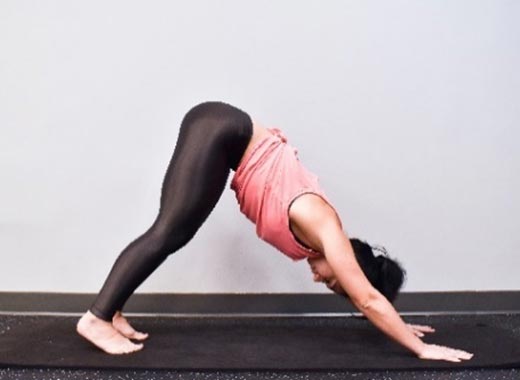
Downward-facing dog
1. Start in a plank (aka push-up) position.
2. Bend your knees slightly and lift your hips up and back, toward the back corner of the ceiling. Press into your hands to allow your shoulders to actively support you.
3. Slowly straighten your knees and allow your heels to reach towards the ground only if your spine stays straight. (Do not allow your spine to round.)
4. Hold for three to five breaths, then slowly lower onto your hands and knees, or simply flow into the next stretch.
Ready to optimize your training?
Speak with an expert to find the right test for your goals.
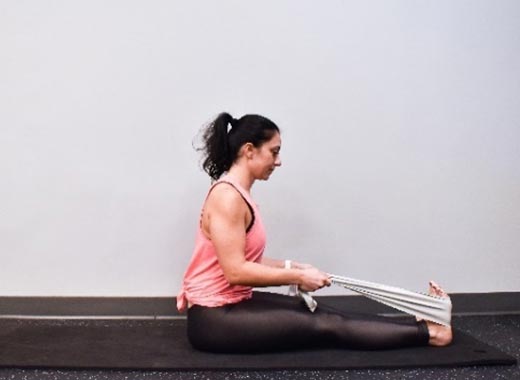
Seated hand-to-foot
1. Sit with your legs straight out in front of you, toes pointing toward the ceiling.
2. Maintaining a straight back, hinge at your hips with the goal of reaching your hands toward your feet. If it is difficult to do this with a straight back, try sitting on a yoga block or a blanket. You can also loop a towel or yoga strap around the bottoms of your feet (see photo).
3. Hold for three to five breaths, then release.
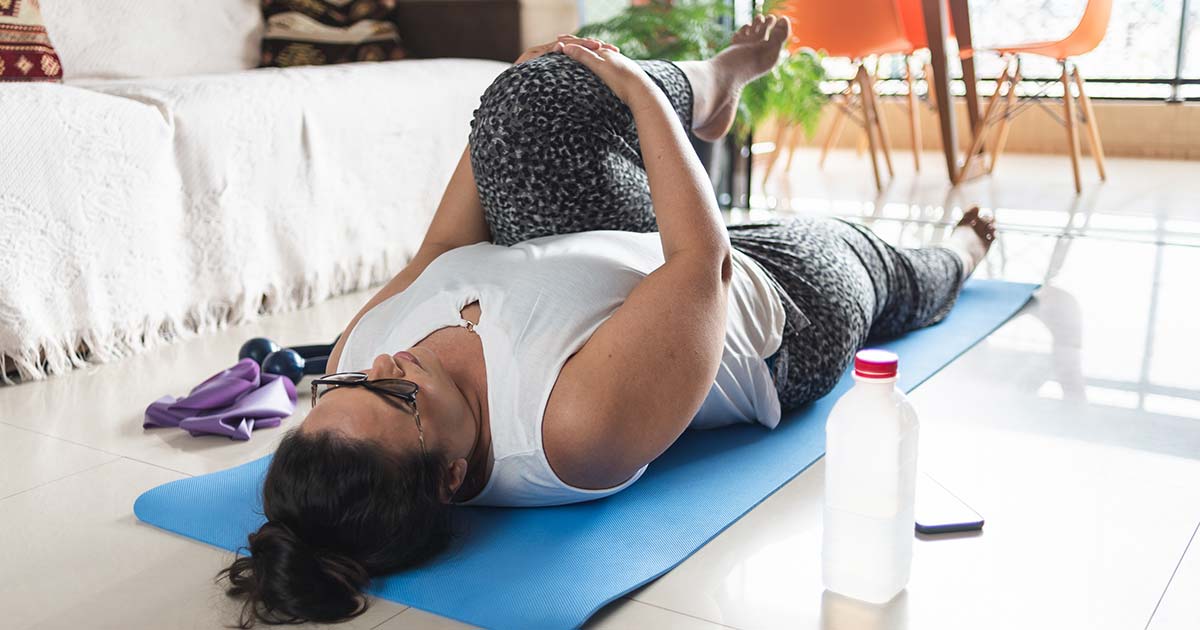
Knee-to-chest
1. Lie on your back with your knees bent and your feet flat on the ground.
2. Press into your feet to raise your pelvis. Slide a yoga block underneath you, then lower your pelvis onto the block (see photo).
3. Bring your right knee to your chest and hold your knee or shin while straightening your left leg. If possible, allow your left foot to rest on the floor. If not, just let it hover wherever it feels most comfortable.
4. Hold for three to five breaths, then release and repeat on the other side.
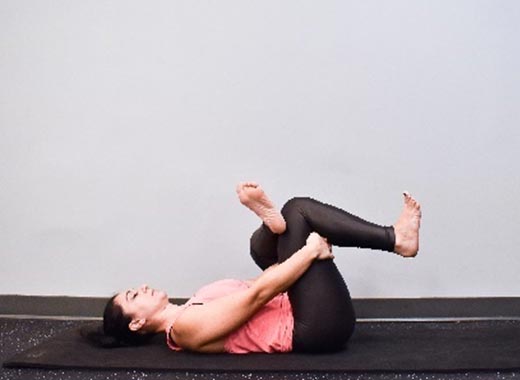
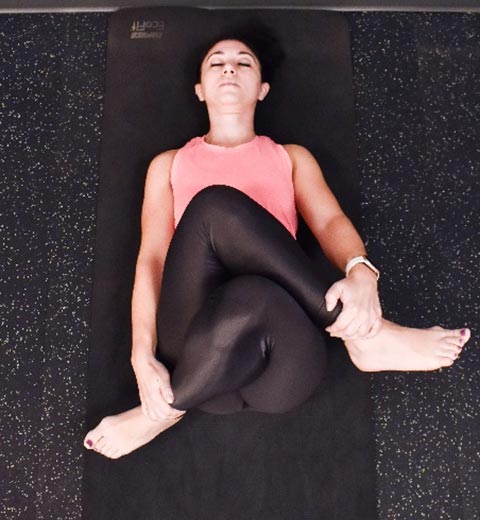
Figure-four
1. Lie on your back with your knees bent and your feet flat on the ground.
2. Cross your left foot on top of your right thigh. Make sure your pelvis does not shift as you press your right thigh away from your body.
3. Next, for a stretch behind your left glute, loop your hands behind your right thigh and bring it close to your body (see photo).
4. Hold for three to five breaths, then release and repeat on the other side.
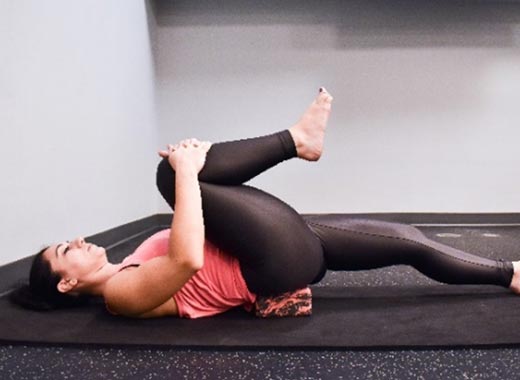
Reclined cow-face
1. Lie on your back with your knees bent and your feet flat on the ground.
2. Cross your right leg over your left leg, drawing in your ab muscles as you bring your knees toward your chest. Grab your lower legs or ankles to hold your legs in place.
3. Hold for three to five slow breaths, then release and repeat on the other side.
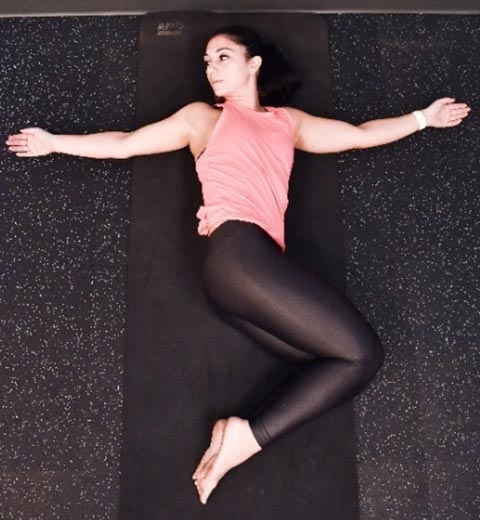
Supine spinal twist
1. Lie on your back with your knees bent and your feet flat on the ground. Reach your arms to the sides in a T-position (see photo).
2. Keeping your knees together, allow them to drop to the left, while keeping your shoulders and upper back on to the ground. If your right shoulder begins to lift, slide a towel or blanket underneath it, or allow your knees to rise off the floor until your shoulder doesn’t lift. Turn your head to the right (looking away from your knees).
3. Hold for three to five breaths, then release and repeat on the other side.
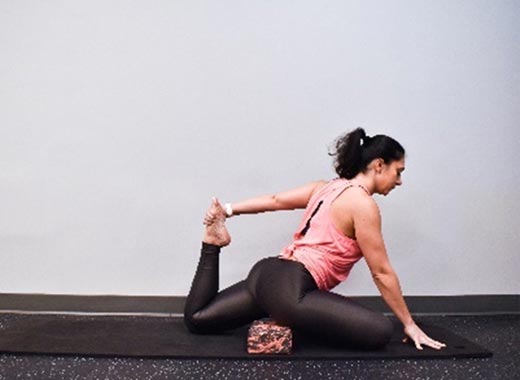
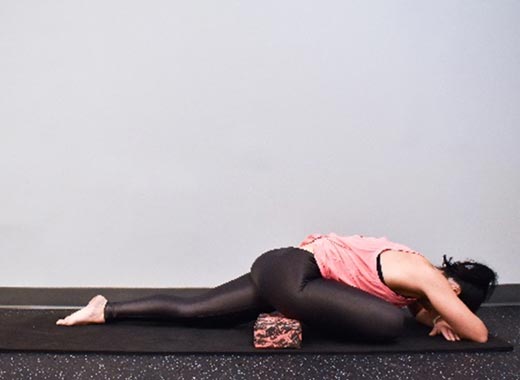
Pigeon with quad stretch
1. Start in downward-facing dog.
2. Bend your right knee and shift forward to place it on the floor behind your right hand. (Allow your knee to be bent at whatever angle feels best to you.) Place a yoga block or blanket under your right hip if needed. Drop your left leg to the floor, resting on the top of the foot. Sit the hips back and down, keeping the pelvis tilted forward. (Your torso will be upright at this point, as in the first photo above.)
3. To stretch your left quad, allow your left foot to rise toward your left glute muscle. Catch the outer edge of your left foot with your left hand and hold for three to five breaths.
4. Allow your left foot to return to the floor. Slowly fold forward at the hips with the goal of laying your chest on the floor. Place your forehead on your crossed arms (or a block or a towel, as in the second photo above).
5. Hold for three to five breaths, then release and repeat on the other side.
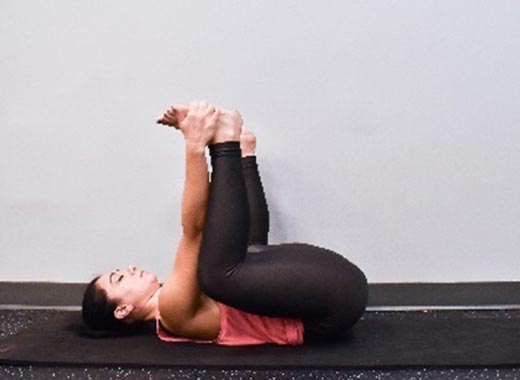
Happy baby
1. Lie on your back. Bend your knees and bring them toward your chest.
2. Grab the outside of each foot with the closest hand and pull on your feet to move your knees closer to your armpits and chest. Allow your ankles to flex and your knees and hips to bend. Hold for three to five breaths.
3. If you like, you can rock gently from side to side while holding onto the feet.
4. Release your feet and slowly return to a comfortable seated position.
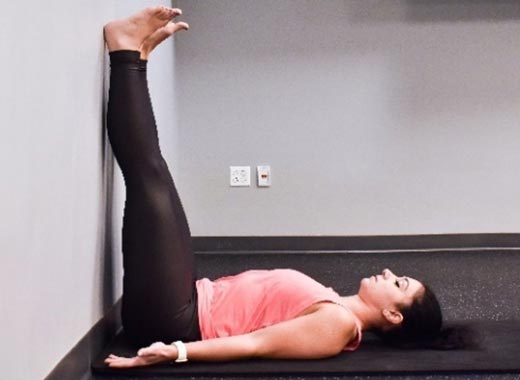
Legs-up-the-wall
1. Sit with your left shoulder and side against a wall, then lie back as you raise your legs up against the wall (see photo) while moving your torso perpendicular to the wall.
2. Remain in this restorative position for three to five breaths, allowing blood to flow from your legs to the rest of your body.
3. Allow your legs to slide back down the wall as you return to a seated position.
Published 7/11/2021
About the Expert

Cara Senicola is a physical therapist with HSS Rehabilitation.